Monday 18 January 2021

Creating with ColorSparx.

Hi everyone!

I have some cards to share with you one last time.

No photo description available.

 I wanted to show your some different ways to use the ColorSparx watercolour powders.  


So here goes…

You will need: 

·         ColorSparx watercolour powders

·         Watercolour paper

·         Ordinary card

·         TCW Stencils

·         Water mister

·         Iron aid spray

·         Cling film

>^.^<

I cut my watercolour paper roughly into 10.5cm x14.5cm pieces, (some are bigger, some smaller).

My first project is using the cling film and iron aid spray. (I used two different brands of spray and got two different results.)


First I sprayed the iron aid all over the piece of watercolour card and sprinkled some of the ColorSparx on it.  I cut off a large piece of cling film, scrunched it up a bit, laid it out flat onto the card. I used my fingers to smoosh the film into the spray and create creases.  I left it to dry. (Now I don’t recommend doing this when it rains… it took two days to dry while we were having a rain event/flooding… I was impatient… I used the heat gun... things did not end well… they are now in the bin.)


My next example was without the cling film. I sprayed the card with iron aid and sprinkled the ColorSparx.  Left it to dry.


Third example.  Sprinkle ColorSparx in one corner of the card.  Position iron aid spray nozzle at that corner and spray across the card. Two different brands, two different results.


I tried to do the cling film version without the iron aid spray. Again I was impatient.  I didn’t let it dry, and removed the film too soon, but I liked the colours and used it for stamping.


My last example was simple.  Two pieces of ordinary card, a stencil, water sprayer and the ColorSparx powders.

I did all of these on an old bath mat, to cover my work area and absorb spray.  It takes up less room that a spray box too.

Place card on work space with a stencil.  Sprinkle ColorSparx powders, mist with sprayer.  While still wet, place the other card beside it and flip the stencil over for a mirrored version of the original.  I roll my paper towel over it to absorb any leakage.


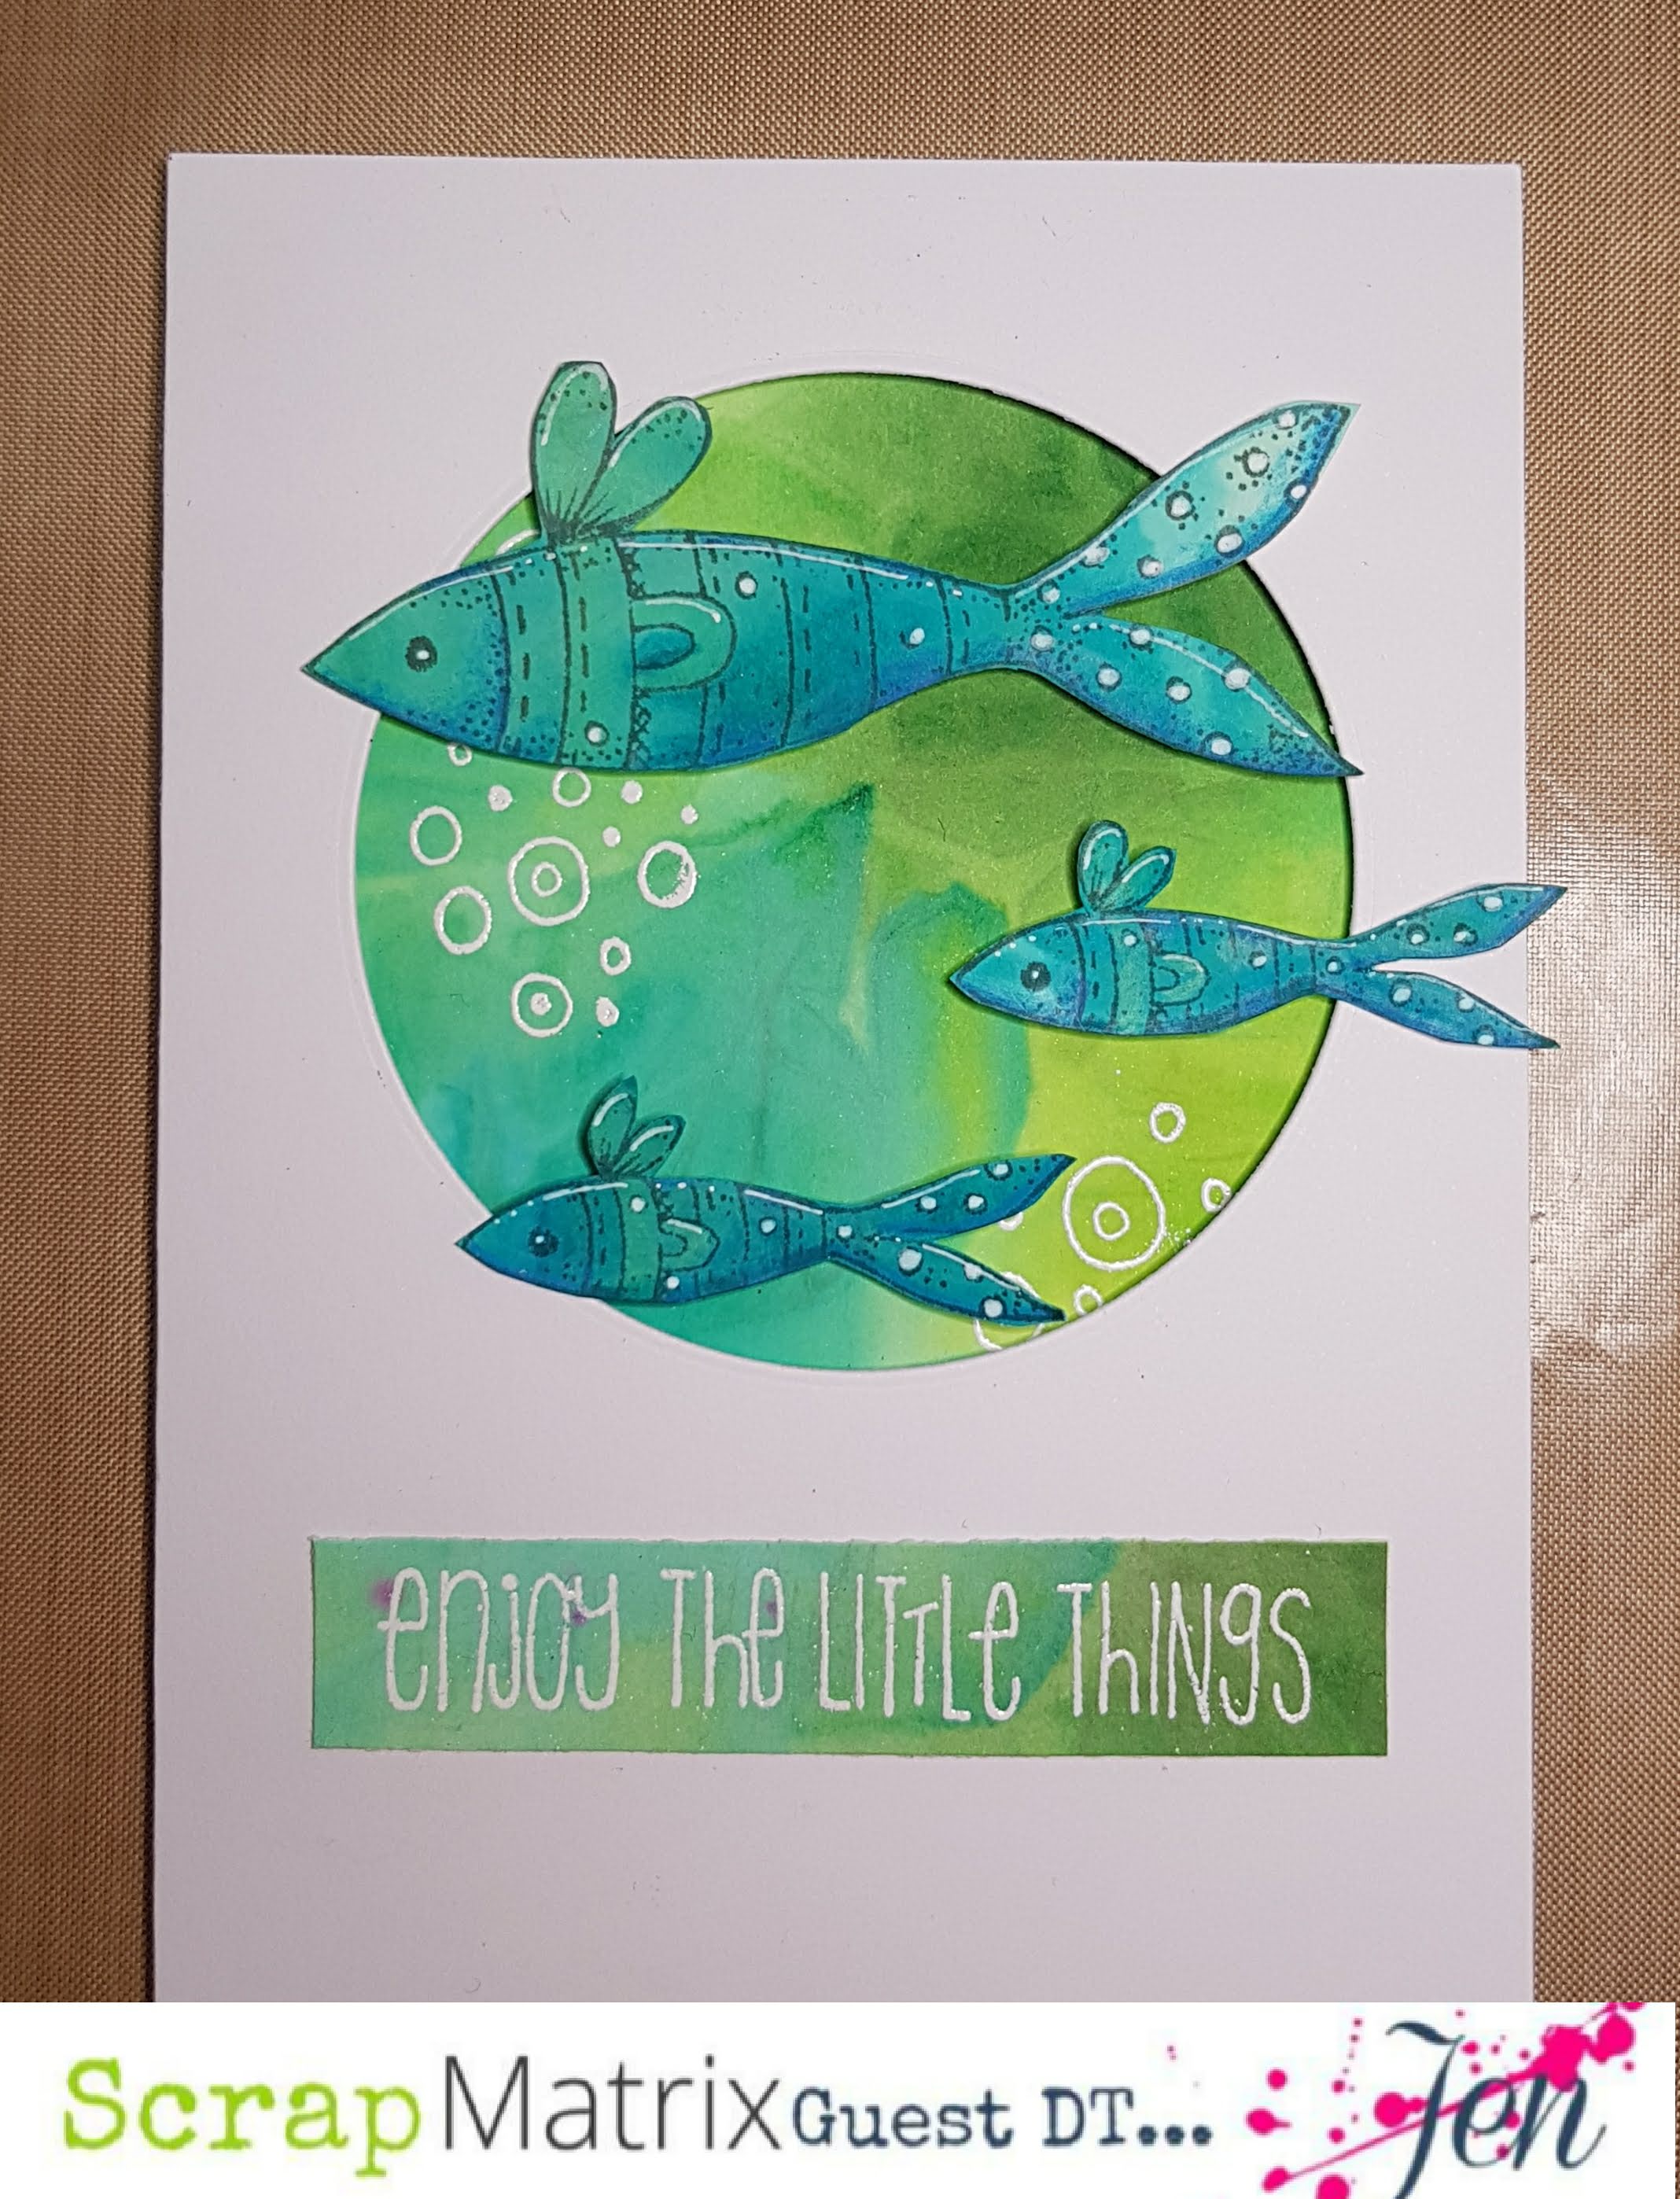
I chose which ones I wanted to use as backgrounds, ones for stamping and ones for future projects (maybe). I stamped and coloured my images and put together a couple of cards.

I have used both PaperArtsy and Carabelle Studios stamps.


>^.^<

That’s it! I hope you enjoyed these projects and all of the other projects I have shared with you during my time as a design team member.

I am going to miss sharing ideas with you all.

Thank you to my other Design Team members.  It has been wonderful to meet you.  .  Your encouragement, support and advice have been valuable.  You have, and will continue to, inspire me.

And a huge THANK YOU to Vicki for asking me to join this team.  This has been a wonderful experience that I will always remember with pleasure.

I wish you all the best of luck in the future.

 Happy crafting.

>^.^<


Tuesday 12 January 2021

TCW Labour of Love by Tam

 Hi there

Well this month is pretty exciting around here!
In celebration of ME being on the Design Team for TCW - The Crafter's Workshop we are having a month that is all about their gorgeous products.

I'm kicking it off with a page that was a real labour of love.
Luckily I find doodling relaxing...


Yep this one took a while!


So let's take a look at the process....

I also grabbed the gorgeous stencil TCW777 Tree Paradise by Art by Marlene - it's been one I've drooled over for a while.


I placed the stencil onto the cardstock and with a pencil, traced the entire image.


Lift up the stencil and you are left with....


Ok now comes the zentangling....
Go around all of this with a fine black pen - make sure it is waterproof!!
Add in lots of extra details to the basic shapes.


For this part you may want to part yourself in front of Netflix!
I added in a few borders as well.

Ok time for the colour!!
I'm loving playing around with these.
For this I added some of each powder to a paint palette, and then added a few drops of water to create my own watercolours.
The more powder, the stronger the colour.


For the sky I used:
I also added a touch of Dylusions Ink Spray in Lemon Zest as I wanted a really vibrant yellow.

As they are watercolours, they blend together beautifully making ombre sunsets really simple!


For the front hill area I used Turquoise, Orchid and Wisteria.

Now this is the part where I should have stopped, but I didn't.
I added Cerulean Blue to the trees as I think this is my favourite shade in the Color Sparx.
I think I preferred them white but never mind

I did leave a few pops of white - this helps to brighten everything!


I'm going to pop it in a frame.
I love all the details.


I can't wait to see what you create this month using the yummy TCW products.


Don't forget to tag #tcwstencillove in your projects as I know they'd just love to see them too.

I'll be back again a bit later in the month!

Luv Tam
xx


Sunday 10 January 2021

A gift... with TCW.

Hi everyone!

Happy 2021!  Another year done and dusted.

 While this year begins with some sadness, I will be thankful for being able to contribute to this blog, meeting all of the amazing team members and having a wonderful leader.

No photo description available.

Today I have a layout to share with you.  I needed to make something in December for this month’s blog, and being busy with Christmas preparations, I decided to kill two birds with stone, so to speak.  This was my mother’s Christmas present.


In October, my husband’s family had a photo shoot to celebrate his mother’s birthday.  It was a dreary, grey day that threatened to rain at any moment.  We had our photos taken between showers at a local park.  I’m not a fan of having my photo taken but my hubby managed to make me smile with his antics, and the results weren’t too bad.  It’s a pity I forgot to take off my glasses. 


Let’s get started.  My mother has decided to decorate her home in black, white and red, so I went with that colour scheme.  7 Dots Studio’s Homegrown collection fit the bill.  I chose Snicker for my background, cropped it to fit the frame, and covered it with gel medium.  I then sprinkled TCW ColorSparx, Merlot and Fuchsia, over the page and misted it with water.  I moved it around with a brush and even shook the page a little to get it run and dried it with a heat gun.


Next I chose my stencil, TCW’s 12” x 12” Jungle Vine, and sponged black paint through it.


I was going to cut out the flowers on the 7 Dots Studio Attic paper but I didn’t like the result.  I turned the paper over and traced a vine from the stencil, filled in the gaps and cut it out.


I gathered some paper scraps, stickers and cut outs from the Homegrown range and sponged the edges with Pumice Stone Distress Ink pad and arranged them with my favourite photos. 


She loved it!

I also did a layout for my mother-in-law using papers from a kit in my stash.  This time I used TCW stencil Scalloped Mandala and Paperarsty paint.


(Sorry about the quality of the photo. It was already framed when I remembered to photograph it.)

That’s it for me now… I’m off to tidy my craft room and start my next project.

Happy crafting!


Friday 8 January 2021

Little bits n bobs of TCW with Tanya

 Hi Guys,

Its a bit of a sad month, but we intend to go out on a high! With that said I have created 2 art journal pages using a ton on TCW goodies.'

Righto page number 1...


This was created using the...
TCW Color Sparks powder
TCW Stencil- Botanical
Art By Marlene Stamps
Art by Marlene Sticker Quotes
Here is a close up photo of the background....


My next page was a little more time consuming,


To start with I created a "Glaze" on the background using Color Sparx mixed with mat gel medium, this makes the water color powder a little more water resistant and stops the color reacting with future wet layers.

I then coated the page in white gesso and wiped it off through a TCW 12x12 stencil with a damp baby wipe (this is where the glaze comes in handy and you don't re-activate the color.)


I then went in with more gel medium and a magazine image and did a image transfer.

The image came out washy, so i mixed a little sepia Color Sparx into white gesso to create a flesh tint and painted the transfer in.


I hope you are inspired and share with us your projects using TCW, all of which can be purchased in store! http://scrapmatrix.com/


Until next time!